|
Pattern Block PrintsGetting familiar with transferring, carving, and printing
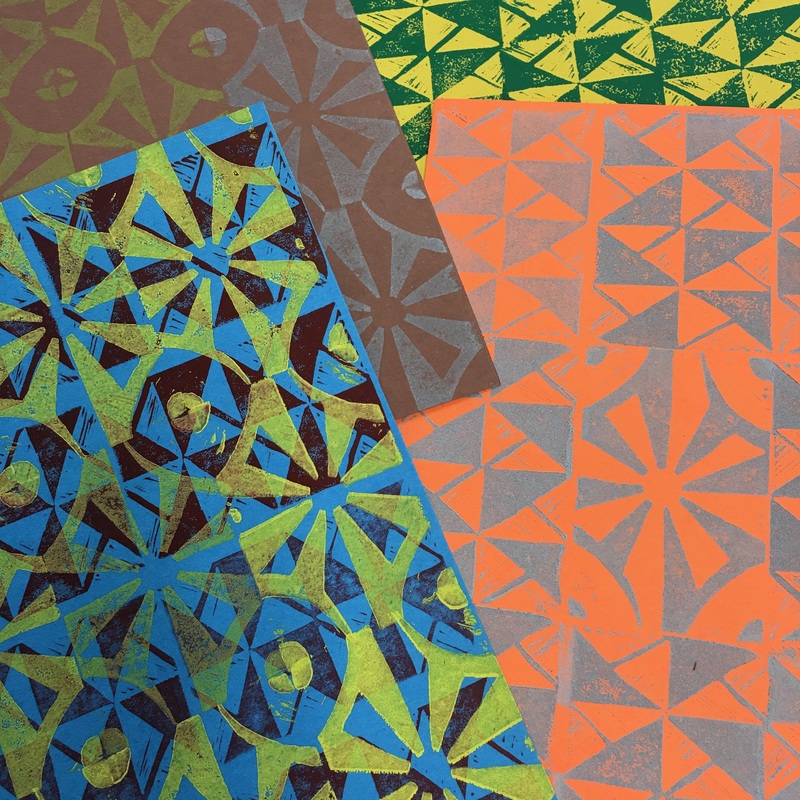
Students start out designing 20 patterns in their sketchbooks. Students then choose their best 2 patterns. They then refine these patterns to the size they need (2x3 inch). They transfer their blocks using a transfer method and are ready to carve. Press on the links below to view the demo. To Carve | Carve out the light area not the black
Place the block on a flat surface. Bench hooks can be used to provide safety from cutting oneself. Always cut away from yourself and make sure no fingers are in the way when carving. I like to carve around the areas to make a ditch next to the line to guarantee I won't accidentally slip and go through my design. To Print | Think consistency To receive higher points, I look for prints that have consistency throughout. To achieve this, the right amount of ink helps a great deal, as well as learning to print the same each time. Being careful with how the block is placed on the paper, and how much pressure is applied to the block also helps add to the consistency of the print. |
|
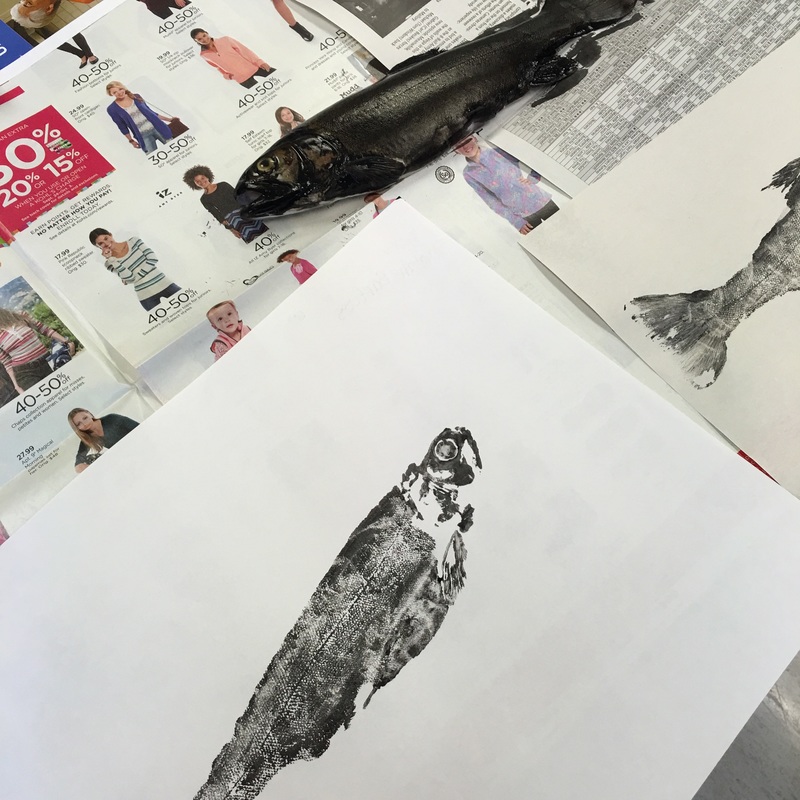
Gyotaku
|
